Disclaimer: This post may contain affiliate links, meaning if you purchase something, we may receive a commission at no additional cost to you. For more info, you can read our full disclosure.
If facials aren’t already part of your beauty regime, then now’s the time to give one a try. Getting a facial monthly is a great way to keep your skin youthful, glowing, and healthy. The downside though, is that facials are expensive, and can put a dent in your wallet – especially if you’re doing one monthly. Often overlooked is the idea of doing an at home facial DIY style, yourself. Once you’ve got the steps down, doing at at home facial is a great way to amp up your skincare routine for quite a number of reasons:
- Save money: You can save hundreds of dollars by skipping out on your next facial appointment and opting in for an at home facial instead
- Learn new skills: Be the skincare queen by showing your gals how you can do more than just cleanse and moisturize. Learning how to properly steam, extract and take care of your skin is a lifelong skill that you’ll carry with you
- You’re in control: Have you ever had a bad experience with an esthetician who didn’t quite help your skin? With an at home facial, you’re in charge
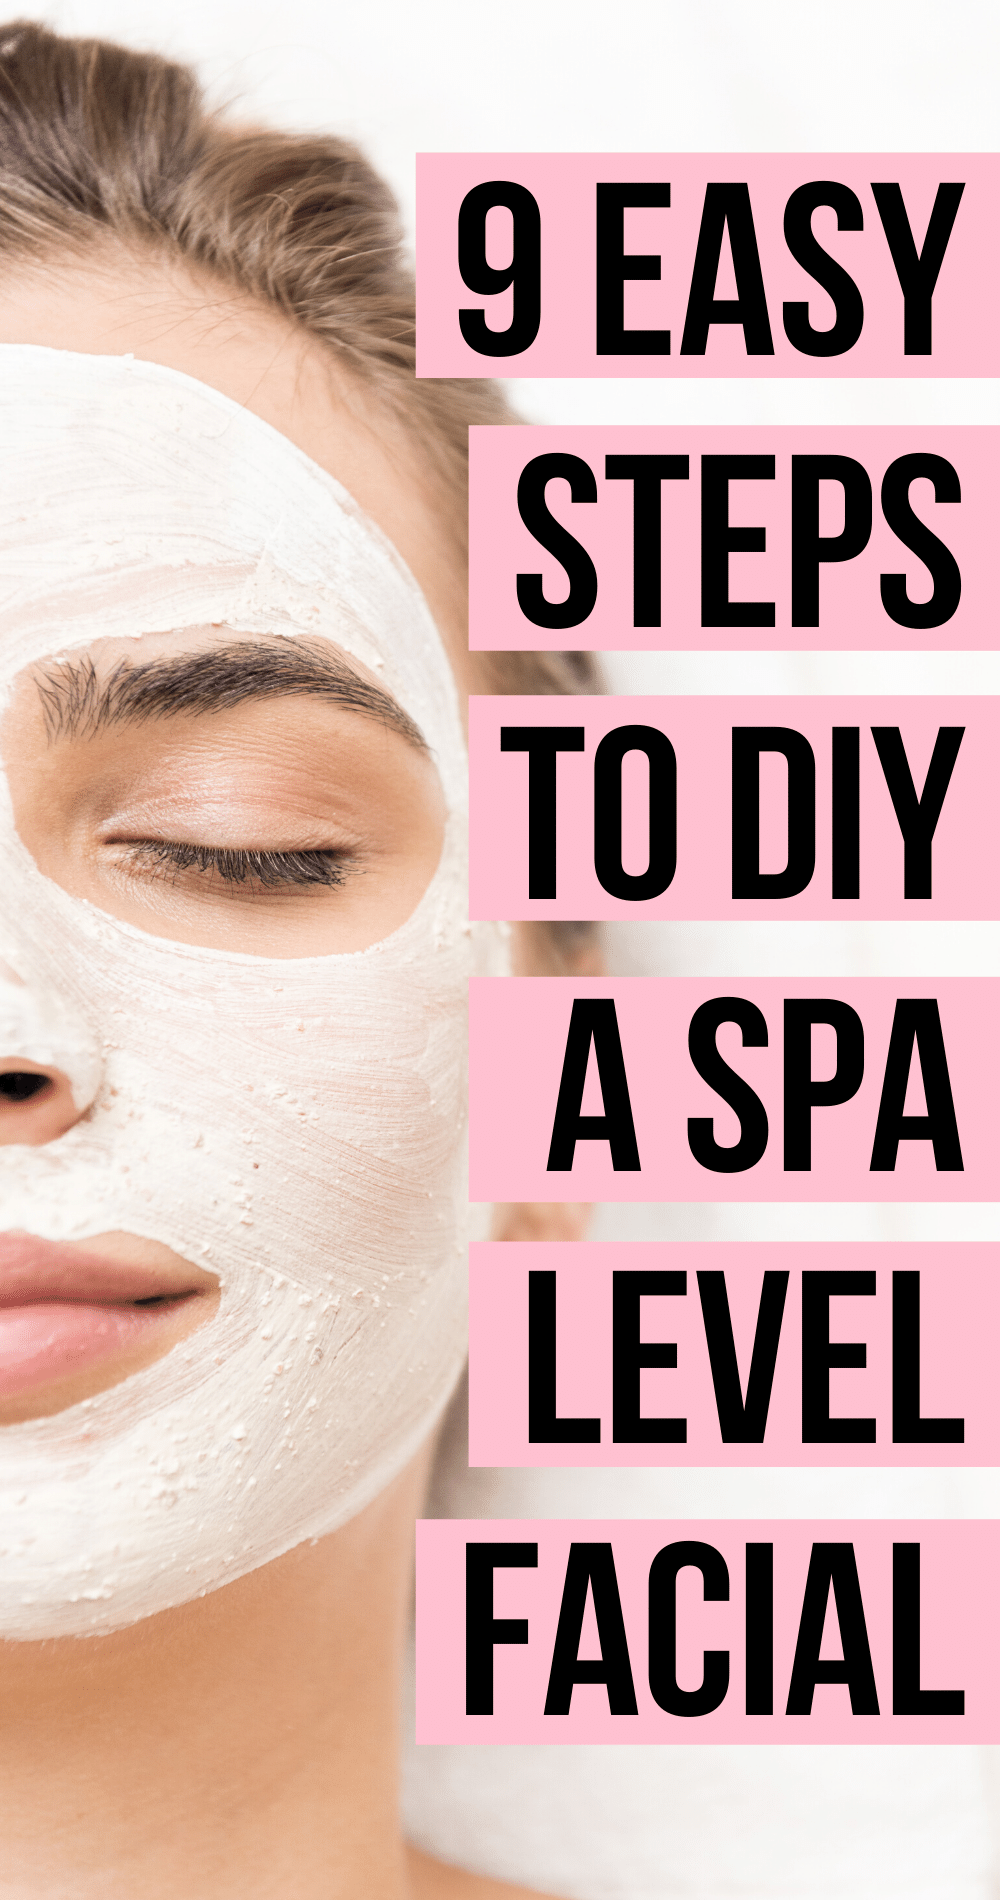
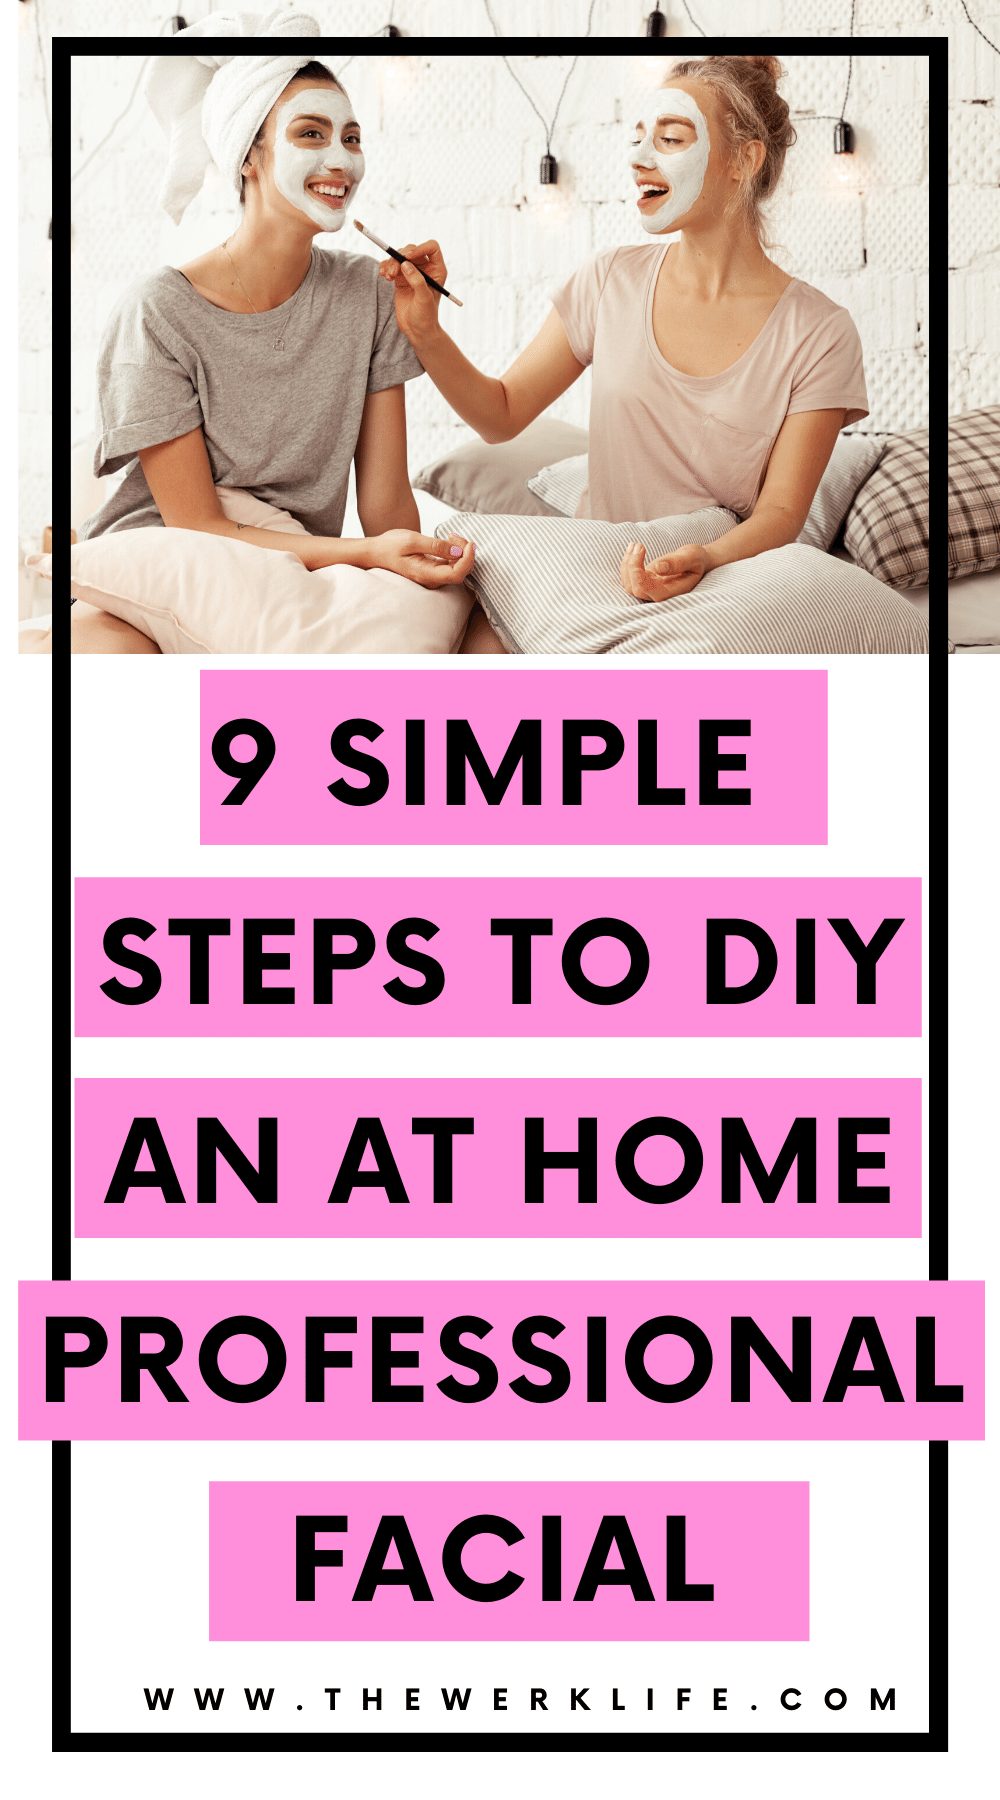
If you’re interested in learning how you can pamper yourself with an at home facial, then keep reading for our easy 9-step method for DIY facials.
Step 1: Remove your makeup
The most important step of all – before beginning your at home facial, be sure to remove all of your makeup. Here’s a quick read on how to easily remove all of your makeup to ensure you’ve left no residue behind. From coconut oil to makeup remover wipes, there are lots of methods to thoroughly rid your face of any foundation, eye shadow, or mascara.
Step 2: Cleanse your skin
Once you’ve removed your makeup, the next step is to cleanse your skin. Foam cleansers, cleansing oils, and gel cleansers are all great ways to give your skin a deep clean. Not only does it do a great job of keeping your skin feeling fresh, clean, and smooth; but the cleanser prevents breakouts without over-drying your skin. (Highly recommend – give it a try if you’re looking to find a new cleanser!)
Step 3: Exfoliate as part of your at home facial
The next step to your at home facial, is to exfoliate your skin. Generally, you should be using an exfoliator about 2-3 times per week. Exfoliation helps remove dead skin cells, allowing your products (i.e. moisturizer) penetrate deeper into the skin. Apply about a dime size of exfoliator onto your hands and rub up in circular motions on your face with your fingers. If you’re on the market for a new exfoliator, the Neutrogena Bright Boost exfoliator is a great option. It gently polishes, brightens, and smooths skin – and it’s less than $10!
Step 4: Steam your face
Here comes the fun part! One of the most memorable parts of a professional facial, is getting your face steamed. Replicating this at home will give you total facial feels if you haven’t felt it yet. You’ve got two options to steam your face.
Option 1: In true DIY style, boil about 1L of water. Pour the water into a large bowl. Allow the water to cool for about a minute. Hover your face about a foot above the bowl. You should start to feel the heat radiate onto your face. If you want something a bit more intense, take a towel and put it over your head to drape it, covering nothing but you and the bowl of water. Just be careful once you add the towel though, it can get pretty hot pretty quickly, potentially making it a bit difficult to breathe. So be sure to be *extra* careful since you’re dealing with boiling water, and do what’s most comfortable for you.
Option 2: There are facial steamers available for purchase online, as well. Depending on your budget, there are super high-end ones for sale on Sephora upwards of $150.00, or if you’re looking for something more basic, there are at home facial steamers you can buy from Amazon for $30.00 – $40.00. This facial NanoSteamer is less than $50, and comes with a stainless steel facial extraction kit too. Which brings us to our next step…
Step 5: Extract
The whole reason we steam during a facial, is to help open up pores. Steaming your face opens up your skin follicles, which will help in the next step: extraction.
If you’re completely new to extraction or at home facials, consider skipping this step until you’re comfortable with the technique. Extraction involves removing blackheads from the T-Zone area (chin, nose, forehead), and can be a bit painful. There are extraction tools you can purchase at your local drugstore – but you’ll want to be pretty careful to make sure you’re not going too deep to harm or damage your skin.
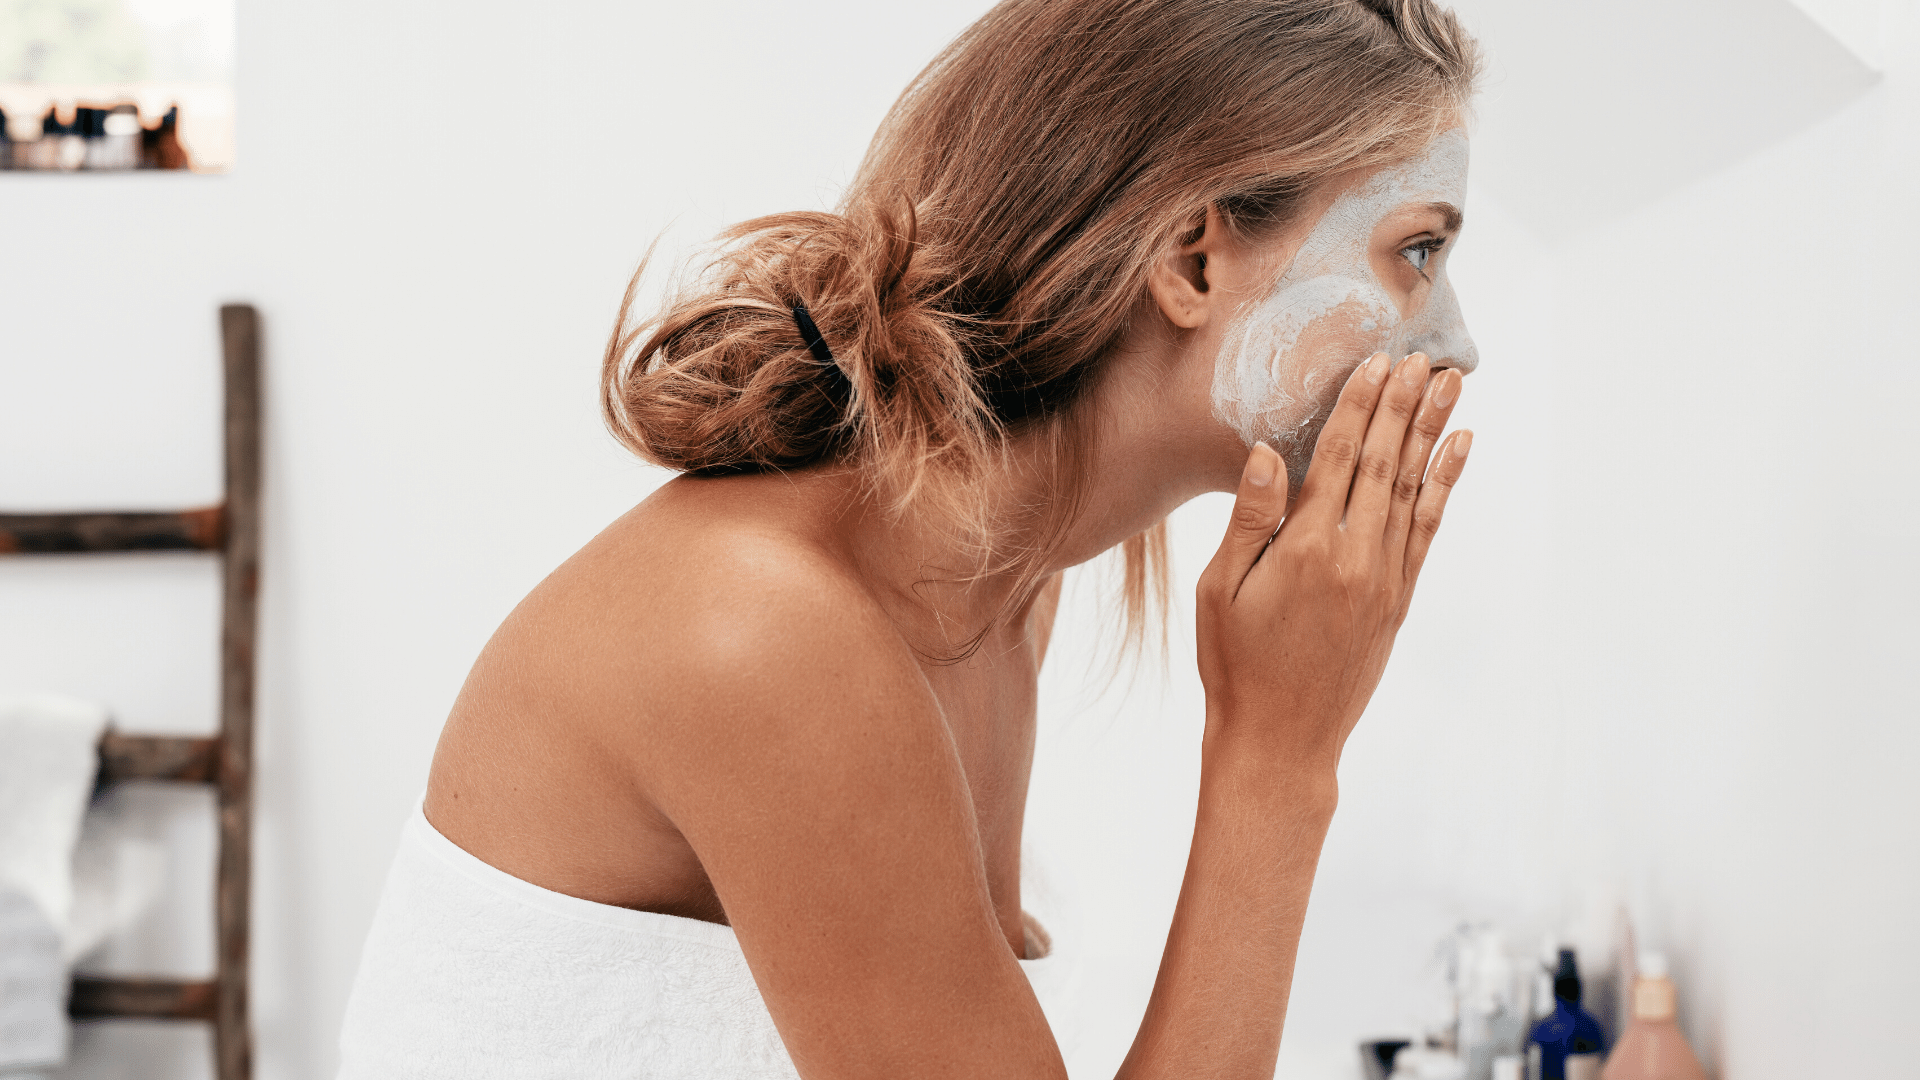
Step 6: Apply a face mask
What’s an at home facial without a face mask? The next step in the routine is to apply a face mask of your choice (based on your skin type and desired outcome). You can buy face masks already prepared, or in the true spirit of DIY facials, you can also DIY your face mask! This article has 4 quick and easy DIY face masks for all skin types that’ll help you achieve radiant skin, brightened skin, give your skin a detox, and more.
Leave your face mask on for about 20 minutes and then wash it off. Splash cold water on your skin to help close your pores before the next step.
Step 7: Tone your skin
Next, find your favorite toner and apply it on your face. Toners help prepare your skin for a serum or moisturizer while getting rid of any remaining dirt or residue on your face.
*Tip* If you’re acne prone and have oily skin, using a toner with a tea tree oil base can help combat breakouts and keep your skin blemish free.
Step 8: Moisturize
If you usually use a serum in your skincare routine, now’s the time to apply it – before the moisturizer. If you don’t – you can skip straight to the step that’s key for hydration and maintaining glowing skin: moisturizing!
Apply your face cream around your eyes and in upward circular motions on your face. Time to give yourself a mini face massage! Spend a few minutes rubbing all of the product in so your skin can absorb all the cream while getting a bit of circulation.
Step 9: Finish with a jade roller
Last but not least, really get the blood flowing in your face by rolling it with a jade roller. Jade rollers help de-puff your face, pushing through built up lymphatic fluids under the skin.
Similar to how we apply creams and exfoliators, we always want to be sure to roll up, versus down. Your skin should be feeling tighter and refreshed in no time!

It’s a greatful content
Author
Thank you!
Just what I was looking for. A great routine! Thanks!!💕
Author
No problem, LaVonia! 🙂
Just what I was looking for, it’s perfect! Thank you! 😍
Author
No problem!